My TESLA Tire Change & Tools Safety Tips with Impact Wrench, Jack & Torque Wrench (Real Demo)
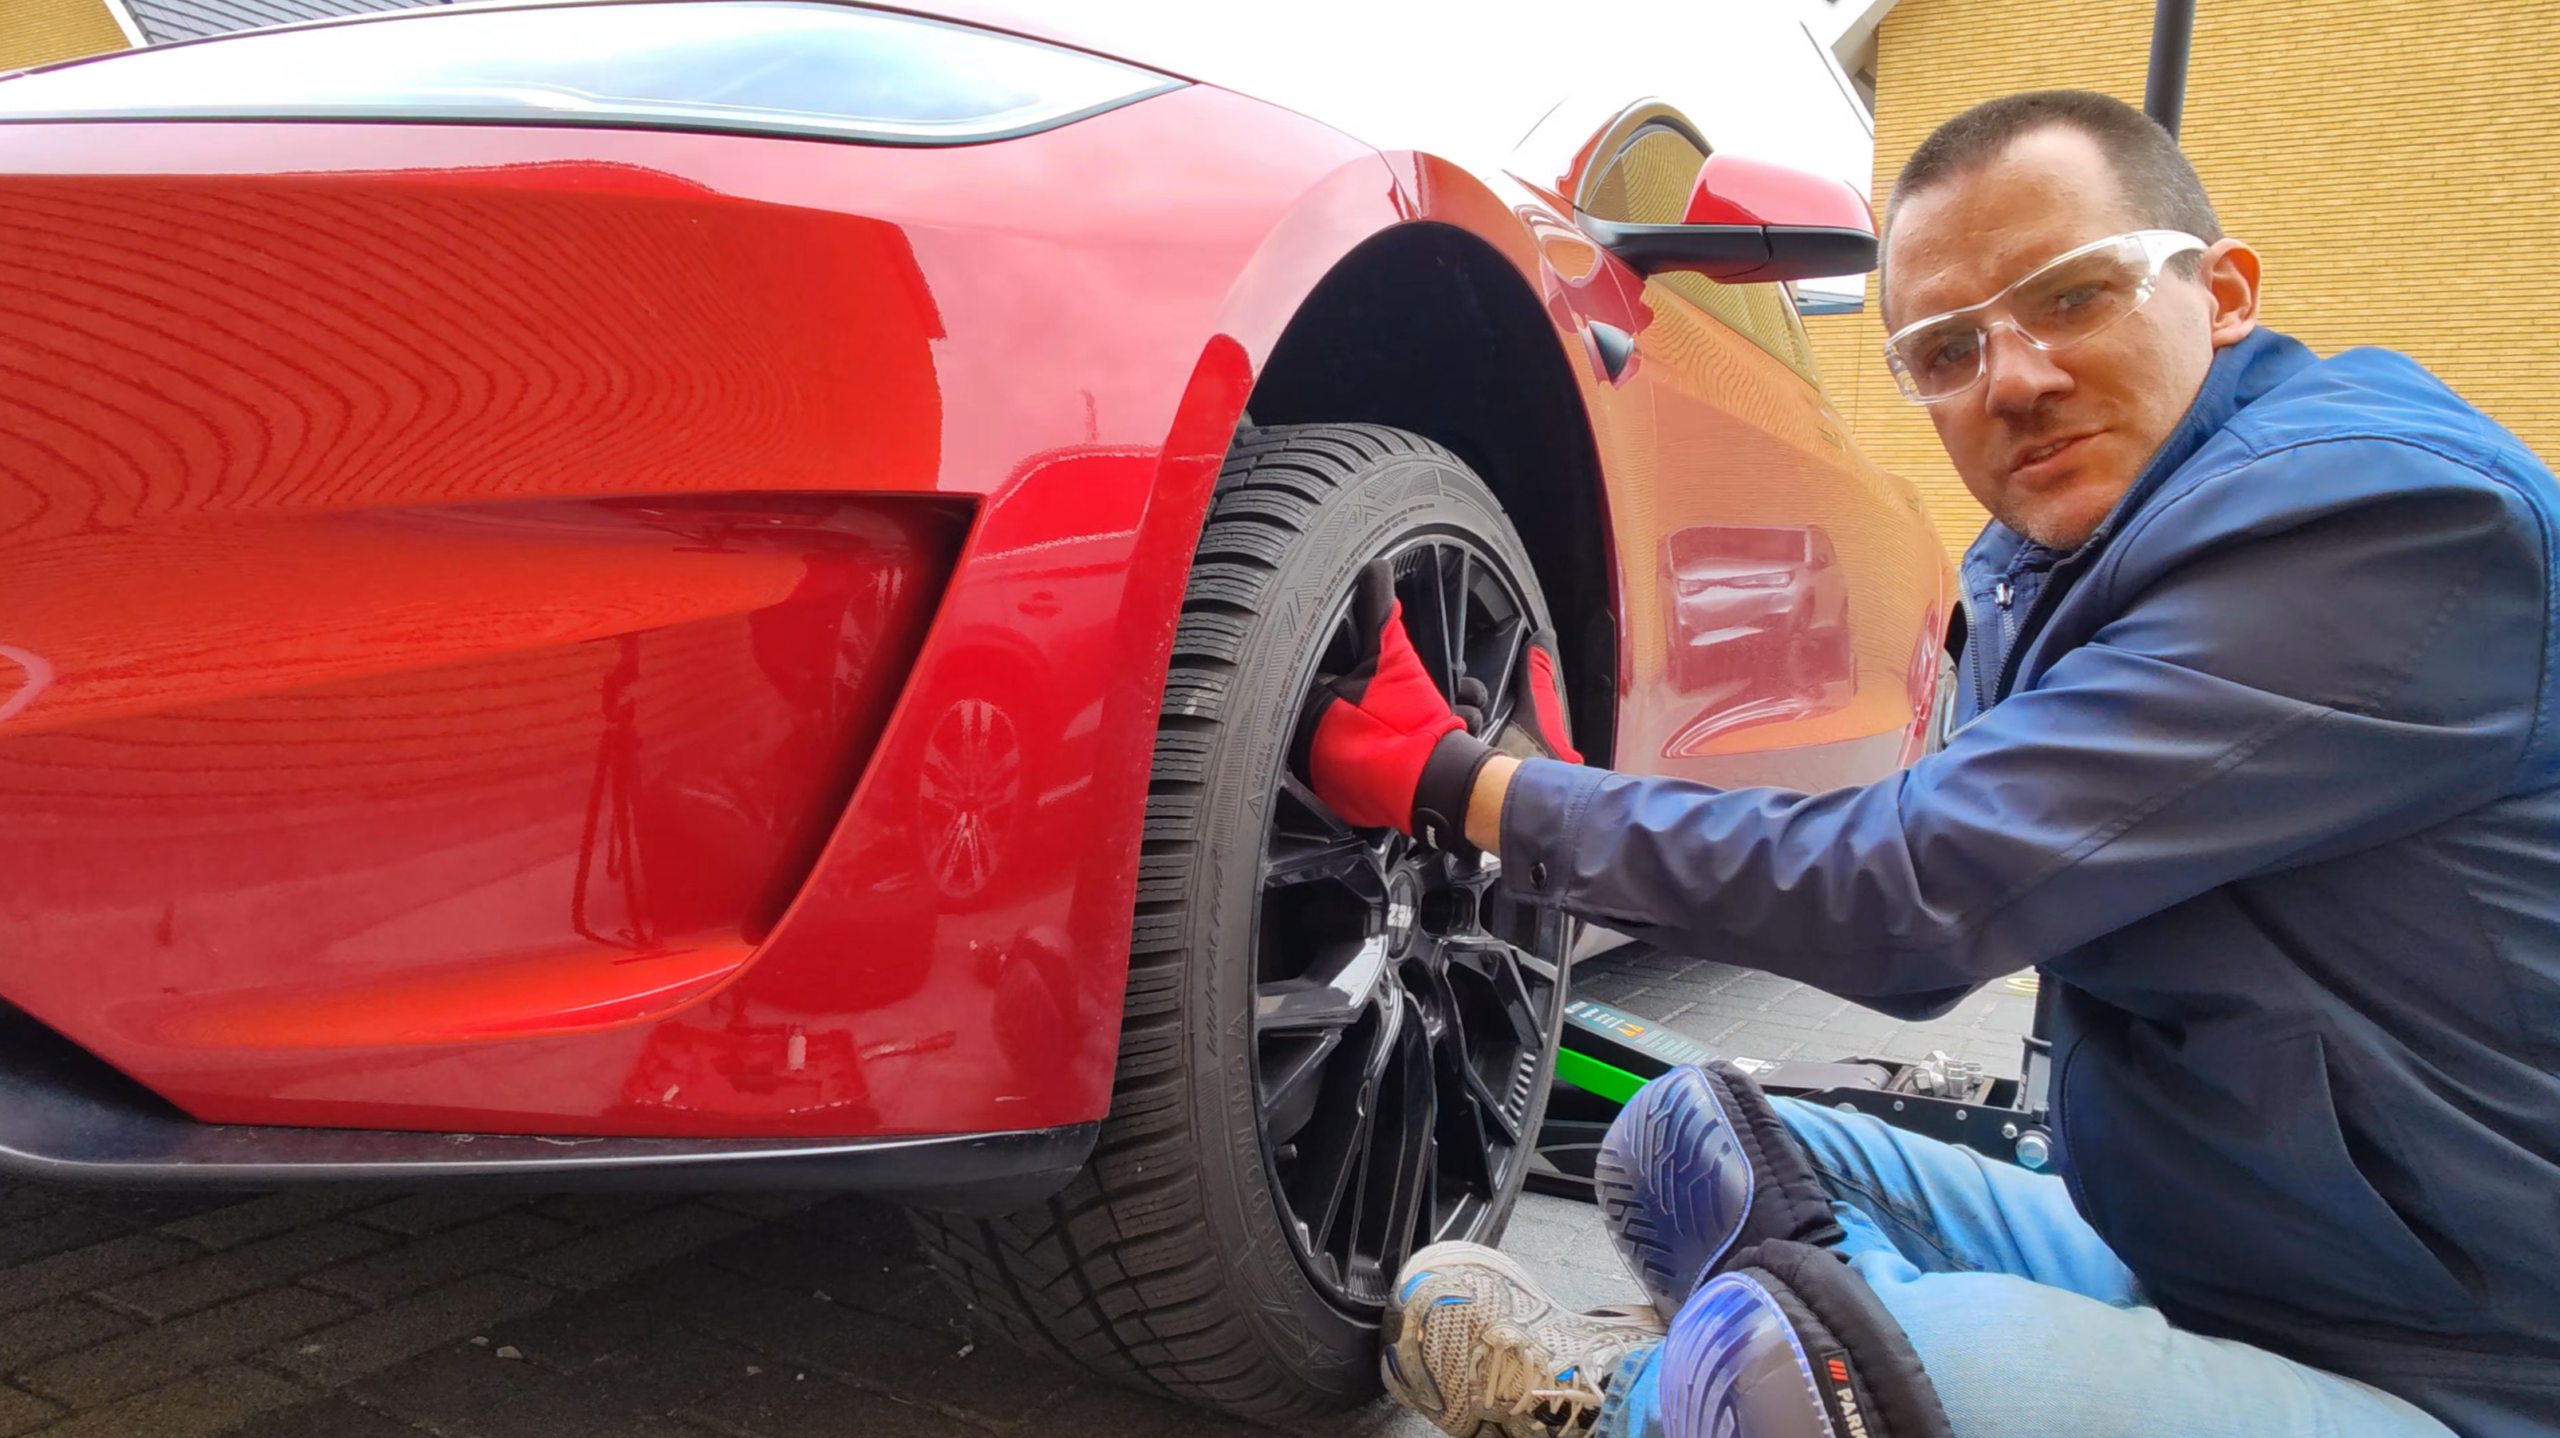
Changing tires on a low car like a sexy Tesla Model 3 Performance to save money and time like me? Here are my essential safety tips and real demo using a low-profile floor jack, powerful impact wrench, and torque wrench. Perfect for all car owners who want to do it themselves safely! In this video I walk you through my complete tire change process on my Tesla Model 3 Performance. The car sits really low so I show exactly which tools I use, how I do it step-by-step, and all the important safety tricks so you don’t damage anything or hurt yourself.
Here are the Amazon affiliate links to the products I used in my video:
- CargoVA Wagenheber Hydraulisch 3T – TÜV Zertifiziert
- Lidl Parkside Impact Wrench
- Gedore Red Torque Wrench
- Bellota Brush
- Lidl Parkside Knee Pads
- Planger Jack Pads
CargoVA German TÜV certified floor jack for low cars
I demo the hydraulic floor jack (super low 7.5 cm profile + German TÜV certified Cargova Wagenheber), the strong German Parkside impact wrench from Lidl, and a calibrated German torque wrench from Gedore Red to the correct 175 Nm for Tesla wheels. Plus I share what to do when lug nuts are stuck from winter salt/rust, why you should always hand-start the bolts, and why you must re-torque after 100 km. At the end I also quickly check the wear on my Vredestein Wintrac Pro Plus winter tires after 7000 km – only 0.5 mm front and 1 mm rear, which I think is pretty solid for a soft performance compound!
Other important safety tips when swapping tires on a Tesla
Here are the top additional safety tips for changing tires (or wheels) on a Tesla (Model 3, Y, S, X, or Cybertruck), beyond general hydraulic floor jack best practices. Teslas have unique considerations due to their low ground clearance, heavy curb weight (often 4,000–6,000+ lbs), structural battery pack on the underside, and sensitive electronics/sensors.
Always consult your specific model’s Owner’s Manual (accessible via the touchscreen or Tesla app) for exact diagrams and procedures, as jack points and torque specs can vary slightly by model and year.
1. Use Only Approved Jack/Lift Points – Protect the Battery Pack
Teslas have four designated lift points (two front, two rear) located on the rocker panels/sills, typically marked by small notches or indentations. These are the only safe places to position a jack or lift arms.
- Lifting anywhere else (especially under the battery, side rails, or floor pan) can crush or puncture the high-voltage battery pack, causing severe damage, fire risk, or voiding the warranty.
- Use Tesla-specific jack pads (plastic/rubber adapters that fit into the lift points). They prevent the jack saddle from slipping or denting the body and distribute weight properly. Many owners consider these essential.
- Park on a completely level, solid surface (concrete preferred over asphalt or dirt). Engage the parking brake and chock the opposite wheels to prevent rolling.
2. Enable Jack Mode (If Available) Before Lifting
On many Teslas, go to Controls > Service > Jack Mode on the touchscreen before raising the vehicle. This:
- Raises the suspension to its highest setting (on air-suspension models like some S/X).
- Disables certain safety features and warnings that might interfere.
- Prevents the car from automatically lowering or adjusting while you’re working.
3. Loosen Lug Nuts Before Lifting the Vehicle
- Use a breaker bar or impact wrench to break the lug nuts loose while the wheel is still on the ground (prevents the wheel from spinning freely once lifted).
- Tesla lug nut torque spec is typically 129 ft-lbs (175 Nm) for most models—always confirm in your manual.
- Tighten in a star (criss-cross) pattern when reinstalling, and re-torque after driving ~50–100 miles (or as recommended) because wheels can settle.
4. Support the Vehicle Properly with Jack Stands
Never rely on the hydraulic jack alone while working underneath or near the vehicle.
- Once lifted to the correct height, immediately place rated jack stands under the approved lift points (or reinforced frame areas).
- Lower the jack slightly so the vehicle rests securely on the stands. Test stability by gently pushing the car before proceeding.
5. Handle Wheels and Tires Carefully – Tesla-Specific Notes
- Teslas often have directional tires or specific staggered setups (wider rears on performance models). Mark or note which wheel goes where to maintain proper rotation direction and handling balance.
- After installing new or rotated tires, you may need to reset tire configuration or manually calibrate tire pressures via the touchscreen (Controls > Service) for accurate TPMS readings and optimal regen braking/handling.
- If replacing due to a puncture or wear, Tesla and many experts recommend replacing tires in pairs (at minimum both on the same axle) and preferably all four if tread differences are significant. Mismatched tires can trigger stability control warnings or affect handling due to the instant torque of electric motors.
- Avoid driving on a severely deflated or punctured tire—rim damage is common and expensive on low-profile Tesla wheels.
6. Additional Roadside and Emergency Precautions
- If changing a tire roadside: Activate hazard lights, wear a high-visibility vest, and position warning triangles/flares. Teslas are quiet, so other drivers may not hear you approaching.
- Consider Tesla Roadside Assistance (via the app) instead of DIY, especially if you’re not confident or lack proper tools—it’s often free under warranty and they handle EVs safely.
- For minor punctures, some models include or offer a temporary tire repair kit (sealant + compressor). Follow instructions exactly: Do not remove the embedded object until at a shop, and drive slowly to a repair facility afterward.
- After any tire work, check for warning lights (e.g., TPMS, stability control) and test drive cautiously at low speeds first.
7. Tool and Personal Safety Essentials
- Use a low-profile hydraulic floor jack (minimum 3-ton rating, preferably higher for safety margin) rated for the vehicle’s weight, with a low collapsed height to fit under Teslas (~5–7 inches ground clearance on many models).
- Wear safety glasses, gloves, and sturdy shoes. Keep loose clothing, hair, and jewelry away from moving parts.
- Have a torque wrench (not just an impact gun) for final tightening—over- or under-torquing can cause wheel damage or detachment.
- After lowering the vehicle, remove jack stands and lower the jack fully before driving.
Bonus Tips from Tesla Owners and Service Guides
- Clean the hub and wheel mating surfaces before reinstalling to ensure proper seating.
- If using a tire shop, remind them (or show them the manual) about jack points and to use pads—many general shops are unfamiliar with EVs.
- Regularly inspect tires for wear, and reset the tire service mileage counter in the touchscreen after rotations/replacements.
Conclusion
Changing tires on a Tesla is very similar to any modern car, but the low clearance and battery protection make precision critical. If you’re new to it, practice in a safe driveway first or watch model-specific videos from reputable sources. Improper jacking is one of the most common ways owners damage their Teslas during DIY work.
Feedback
If you’re thinking about getting a new Tesla or upgrading your current one, use my referral link – you’ll get a nice discount and free Supercharger miles. It really helps me keep making these honest Tesla tool and tire videos for you! Drop a comment: What tools do you use for your Tesla tire changes? Any tips for stuck lug nuts? Let me know! And if you enjoyed this, please Like & Hype it, hit subscribe and the bell so you don’t miss my next Tesla reviews and maintenance guides. Please subscribe to my YouTube channel. Safe driving everyone!